
How to Replace Boat Windows: DIY Step-by-Step Guide
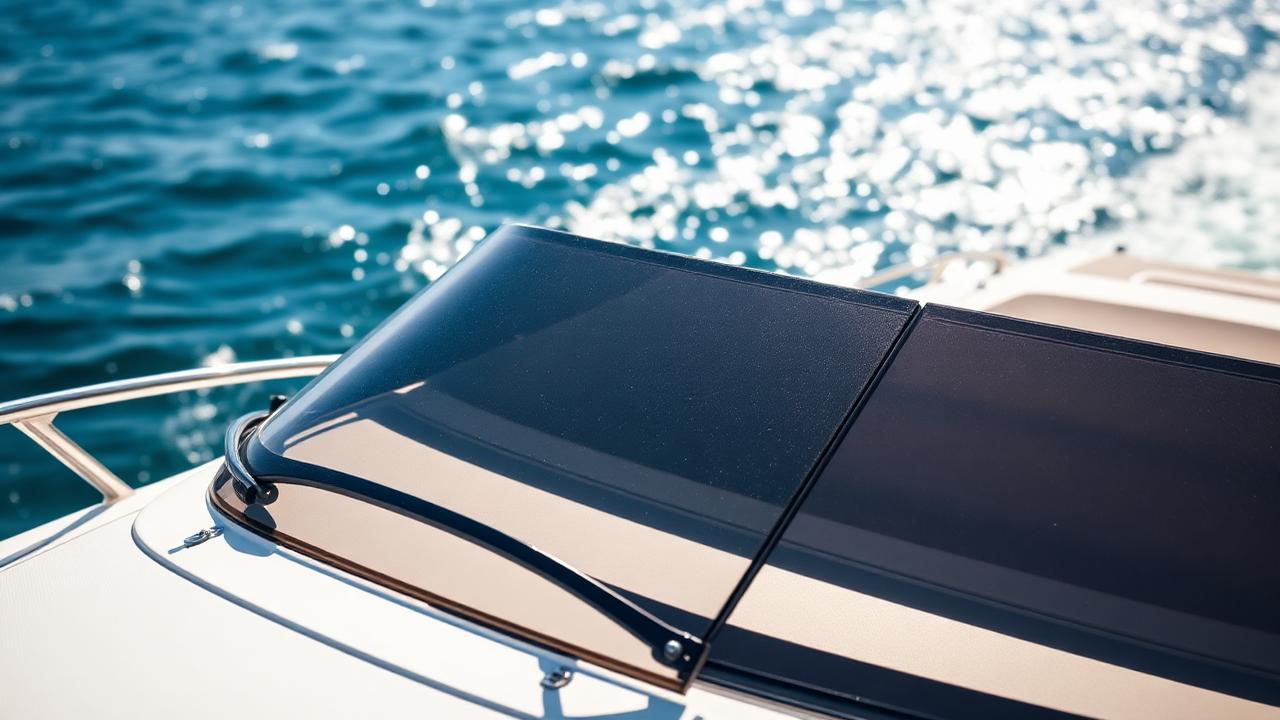
Cracked, crazed or yellowed boat windows are more than an aesthetic issue — they leak, distort your vision and can fail at the worst possible time. The good news is that on most trailerable boats, replacing a flat perspex or polycarbonate window is a job a competent DIYer can knock over in a weekend.
At EXP Plastics we cut and template replacement marine windows every week for Gold Coast boat owners. Here's the process we recommend, along with the mistakes we see people make most often.
When to replace vs repair a boat window
Not every tired-looking window needs to be replaced. Use this quick guide:
- Light surface scratches or haze — polish with an acrylic-safe product such as Novus 2 or Vuplex.
- Perished rubber seal, no crazing — re-bed the window with fresh marine sealant.
- Yellowing, chalky surface or reduced clarity — the UV coating has failed. Replace the panel.
- Crazing (spiderweb of tiny cracks) — stress damage from solvents or overtightening. Replace.
- Impact cracks or leaks around the frame — replace and re-bed with a fresh compound.
If you're unsure, our acrylic vs polycarbonate guide walks through when each material makes sense.
Tools and materials you'll need
- New marine-grade acrylic (Perspex) or polycarbonate sheet — same thickness as the original
- Marine bedding compound (butyl tape or a neutral-cure marine silicone such as Sikaflex 291)
- Jigsaw with a fine-tooth plastic blade, or a router for cleaner edges
- Cordless drill with sharp plastic-cutting bits
- Fine sandpaper (240–400 grit) for edge finishing
- Isopropyl alcohol and lint-free microfibre cloths
- Masking tape, permanent marker and a template (cardboard or MDF)
- New stainless fasteners and rubber washers
Step-by-step: replacing a flat boat window
- Remove the old window carefully. Back off every fastener before pulling — prying while bolts are still in place will crack the surround. Score the old sealant with a plastic scraper.
- Clean the frame back to bare surface. All old bedding compound must come off. Wipe down with isopropyl alcohol so the new sealant can bond.
- Template the opening. Lay cardboard or 3mm MDF over the frame, trace the outer edge and mark every fastener hole. Double-check by test-fitting before cutting the perspex.
- Cut the new perspex. Leave the protective film on both sides. Jigsaw or router along the outside of your line, then sand back to a smooth edge. Bring your template to us and we'll cut it to size while you wait.
- Drill fastener holes oversize. Perspex expands and contracts with temperature — holes should be roughly 1.5× the fastener diameter so the panel can move without cracking.
- Test fit dry. Every hole should line up, the panel should sit flush and there should be a small gap around the perimeter for sealant.
- Bed and fasten. Peel the film, run a continuous bead of marine bedding compound around the frame, press the panel home and finger-tighten every fastener. Wait 24 hours for the compound to skin over, then snug fasteners a further quarter-turn — no more.
- Trim excess sealant once fully cured (usually 3–7 days depending on product).
Common mistakes to avoid
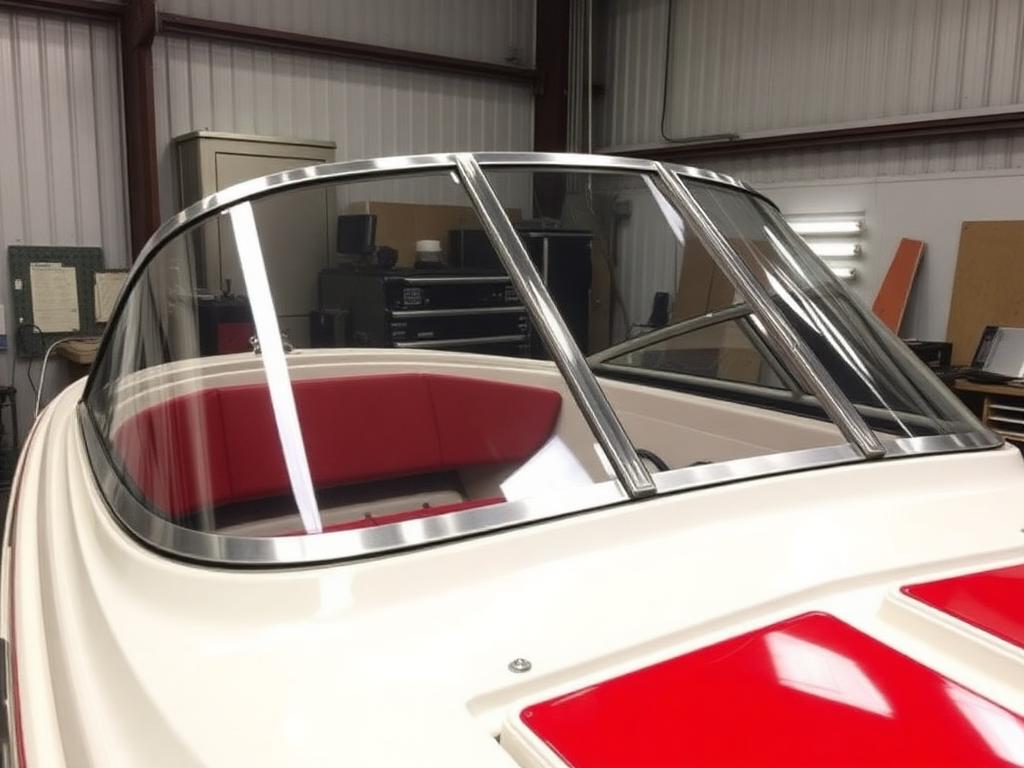
- Using the wrong bedding compound. Acetic-cure silicones (the vinegar-smelling ones) will craze acrylic within weeks. Stick to neutral-cure marine sealants or butyl.
- Overtightening fasteners. This is the number-one cause of stress cracking. Fasteners should hold the panel firmly against the sealant — not squeeze it.
- Undersized fastener holes. No room for thermal movement means cracks within a season.
- Cleaning with glass cleaner, ammonia or acetone. Use only plastic-safe cleaners on your new window.
- Peeling the protective film too early. Leave it on until the panel is fitted to prevent scratches.
When to call a professional
DIY works well for flat panels, portlights and small cabin windows. Leave it to the pros when:
- The windscreen is curved or compound-curved — thermoforming requires an oven and a mould.
- The panel is very large (over roughly 1.2m in any direction) and needs to be structural.
- The glazing is load-bearing on a cabin or flybridge.
- You need a colour-matched tint or bonded frame.
Get your replacement boat windows cut on the Gold Coast
EXP Plastics templates, thermoforms and cuts marine acrylic and polycarbonate for boats of every size. Drop in with your template or old panel and we'll match it exactly. Call 07 5620 1038 or visit our boat & marine components page for more.
Related articles
Ready to Start Your Plastic Project?
Get a free quote from the Gold Coast's trusted plastic fabrication experts.